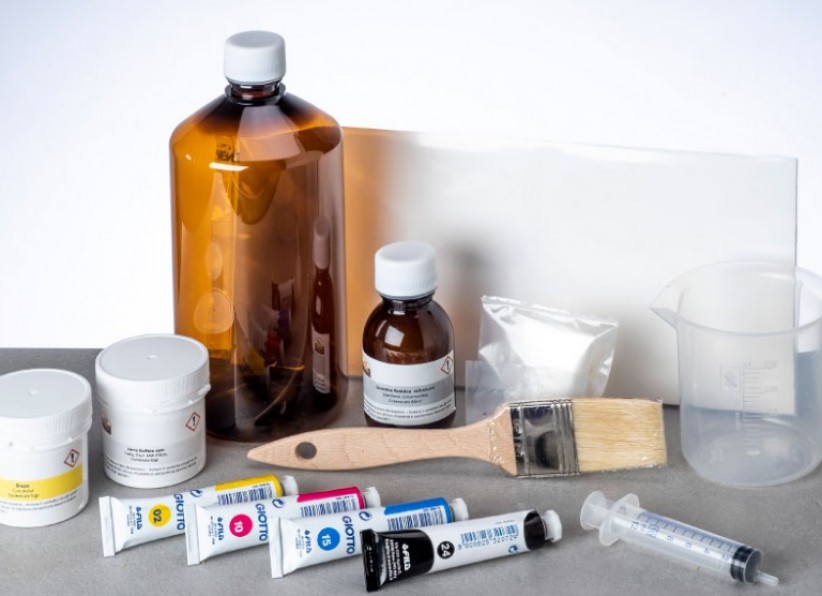
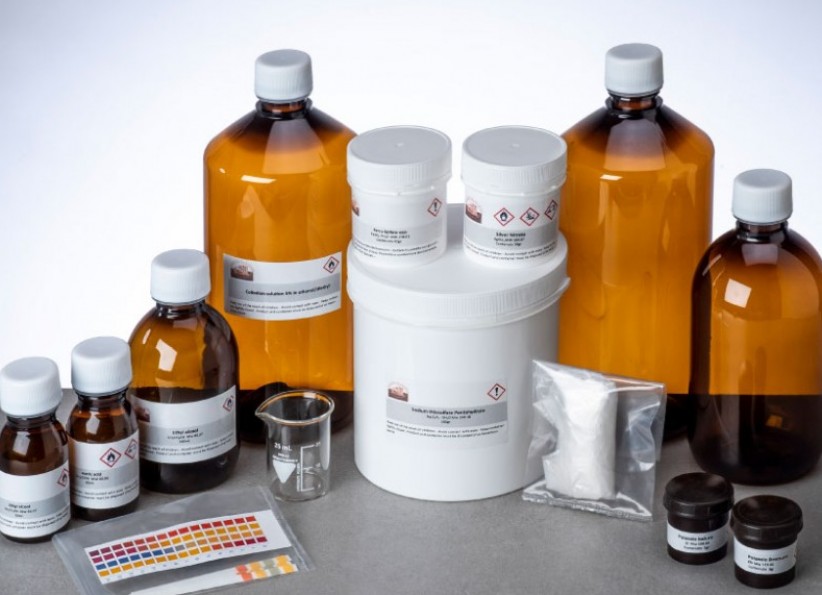
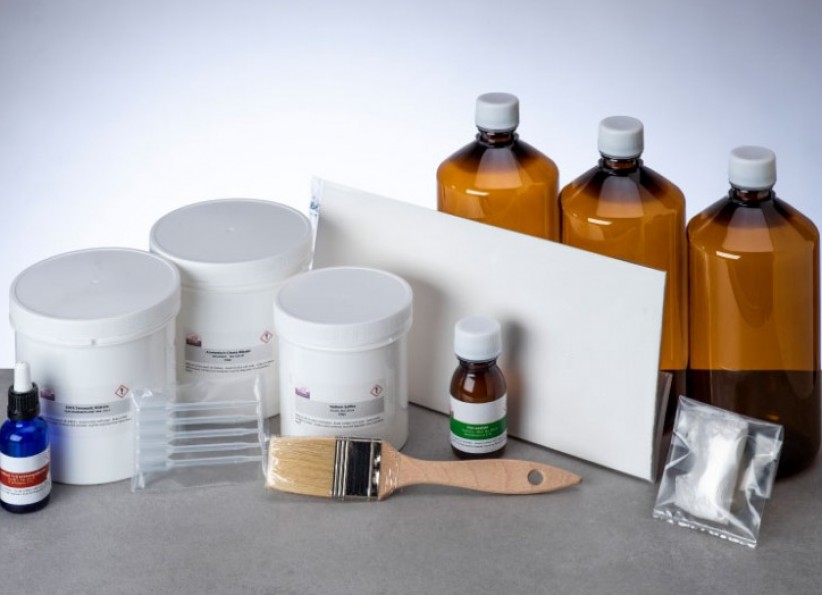
Kit36 Sury Print
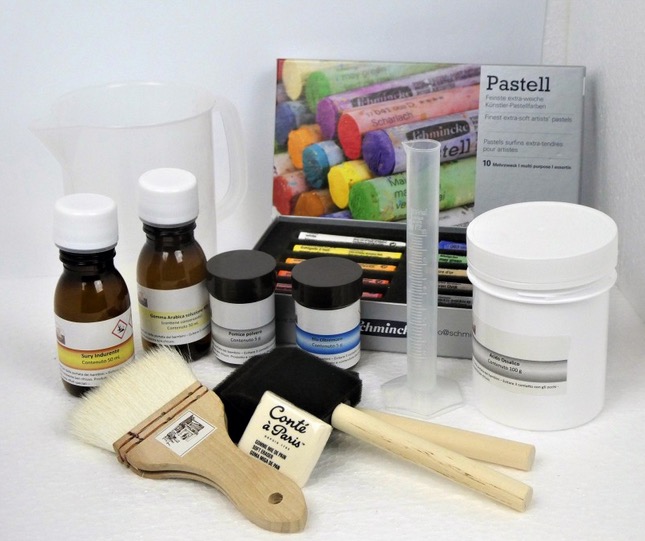
Arabic Gum solution (with preservative) 50
Sury hardener 50ml
Pumice powder 5g
Blu Oltremare 5g
50mm / 70mm sponge brushes 2
Becker PP da 100 ml graduated 1
Oxalic acid Crystals 100g
Goat hair brush without ring 50mm 1
Quality Shimincke Pack of 10 pastels 1
Graduated plastic cylinder 1
500ml pitcher in plastic 1
Rubber bread pack 1
PE pair gloves 1
Instruction set 1
Chemical safety sheet available on the website.
Paper preparation
The Sury Technique requires a fairly resistant and very glossy paper. Some commercial papers will do the job, but they are usually difficult to obtain. The easiest solution is to use silver gelatin glossy baryta paper. They are available in a variety of sizes, though it is preferable to make sury prints in fairly large formats, like 30x40cm or larger. The latter in order to retain enough details. Sury has an important pictorial component, with the drawback of a certain loss of details. Baryta paper preparation is quite simple. The paper is fixed in a common universal fixer preferably in the dark for a few minutes, rinsed well and let dry.
Sensitizer preparation
The sensitizer/gum ratio normally used is 1:2,5 For an A3 size image 10ml of solution are enough made up from 7 ml of gum Arabic and 3 ml of sensitizer. To the total volume of the above mix, 10% of pumice powder (1g) and 10% of ultramarine blue pigment are to be added. Mix thoroughly in safety light and then brush the mix over the paper with the foam brush. Let it dry in the dark. Do not try and dry with hot air. Avoid contact of the sensitizer solution with the skin as it may cause allergic reactions. To mix the above you can use the 10 ml beaker in the kit.
Coating
All the operations must be done in dimmed or safety light.
Fix the sheet of paper to a drawing board with some tape then pour the solution over the paper and brush it across the area with crossed strokes. Try to work smoothly and uniformly before gum begins to become “tacky” due to water evaporation. It is recommended to gently brush the entire area three to four times until it looks uniform trying to avoid streaks. For those already skilled in gum printing, we want to pinpoint tha sury mix coating is very similar, only more dense due to the pumice powder. Once coated, let it dry completely. The surface will have a matte look. Wash well the brush with warm water and soap.
Exposure
The Film-paper sandwich has to be exposed at UV light for the right amount of time. As always, a printing frame is recommended. If not available, two sheets of properly thick glass (4-5 mm) can be used. It is impossible to evaluate the exposure by inspection just like in gum printing, also because the deep blue color inhibit any evaluation by sight. Tests are to be made as it is not easy to estabilish a standard without taking into account various factors such as negative type and density, Uv light source and its distance from the print frame, among others. A valid suggestion is always to have a good density range negative and start with times in the 8 to 10 minutes range.
Development
The exposed print will be put face up in a cold water tray rocking it gently until the paper is completely wet. Keep it that way for 5 to ten minutes.
Another cold water bath, for another 5 to ten minutes, still face up, will allow to control the development by sight. Development can be locally controlled by raising gradually the bath temperature or by pouring warm water over the print. At the end of the development phase a blue image is obtained. Keep in mind that what you see in blue at this stage will be the final image after bleaching and dusting.
After the development phase, the print is let to dry completely, then the bleaching phase can be performed. The bleaching phase is obtained by putting the print in a 2%oxalic acid bath until all the blue color is gone. This is a key phase, as the ultramarine blue is a sulfosilicate of aluminum which by dissolving in presence of the acid leaves micropores behind that will function as micro wells to retain pigment.
Drying
After bleaching, take out the print from the acid bath trying to get rid of eventual air bubble still on the surface by sliding the print on the tray’s edge. Rinse it briefly in cold water bath to eliminate any residual acid. Let it drain and hang to dry.
Dusting with pigments
Here the creative phase begins. You begin the coloring using the goat hair brush and dusting small amounts of the required color. In case you want to use more than one color, it is advisable to begin with lighter hues and adding densities. This task is somewhat challenging and it can easily take a few hours to complete. The key factors to keep in mind at this stage are
- It is easier to add color than remove it
- The surface of the paper must be glossy, otherwise the highlights can become dirty and opaque
- Deeper densities can be obtained by using fingers instead of brush
- Contrast can be added by using tiny amounts of darker pigments (VERY small if using black!) eventually using fingers
- Soft erasers can beused to clear the highlights
- Always start with light hues, working your way towards darker shades
During the color process it is good to wear gloves and dust mask.
Gomma Arabica , stampa sury, Solfo Silicato di Alluminio, acido Ossalico, Pomice polvere


