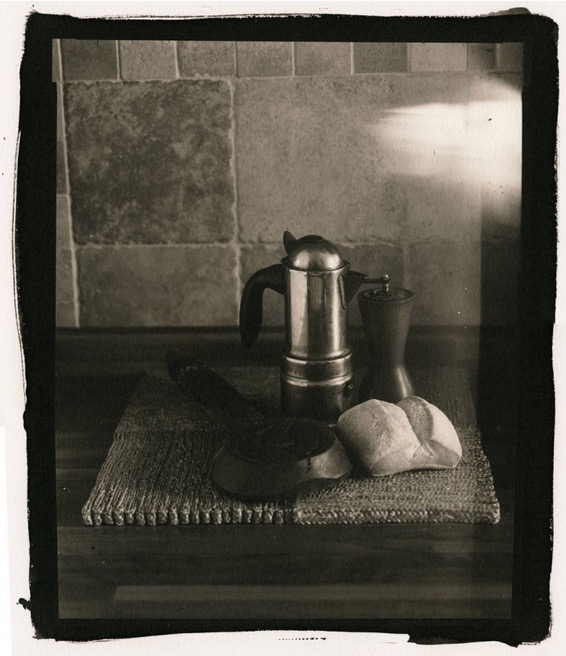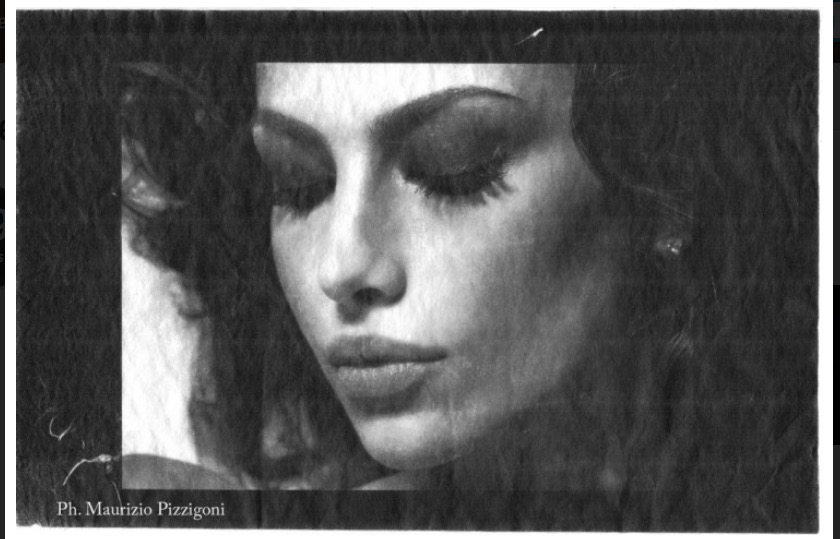
Van Dyke Brown procedure
The Van Dyke Brown procedure was developed in the early 1900, its name reminds of the peculiar sepia tone you see in the works of the flemish painter Sir Antony van Dyck, who lived between 1599 and 1641.
Chemicals’ preparation
In this process you use a sensitizing solution made of ferric ammonium citrate, tartaric acid and silver nitrate; you develop in water and fix in thiosulfate sodium.
Chemicals you need:
- Dissolve 27 gr of ferric ammonium citrate in 100ml distilled water
- Dissolve 4,5 gr of tartaric acid in 100ml distilled water
- Dissolve 12 gr of silver nitrate in 100ml distilled water.
Working under dimmed light, combine the three solutions in this order:
- -add the tartaric acid solution to the ferric ammonium citrate solution.
- -add the silver nitrate solution to the previous one.
Stir throughly, using non-metallic tools. The sensitizing solution is now ready, filter if it has crashed or presents undissolved parts. Wait a few days of ripening before using it. You can store it for several months into a dark bottle kept in a fresh site. For your own safety, do not store it in your home refrigerator.
The van Dyke has a pitch scale perhaps even superior to prints Platinum / Palladium and, therefore, requires negative well contrasted. The negatives should have the size of the print to be obtained. A good UV light (with possibly good power) is required for the exposure.
There are five key points to get a good Van Dyke print:
1. After the exposure the iron compounds, which didn’t reacted, must be eliminated completely. Use a water bath with Citric Acid 3% for two minutes. Repeat with a new identical bath. It’s better if the two baths are warm.
2. Make a good fixing: Use a bath of sodium thyosulfate 2% for 2-4 minutes. Repeat a second time with a new identical bath.
3. Make a good final wash in running water for at least 30 minutes.
4. Use a brightening bath with Sodium Sulfite 1% for 3-5 minutes. The bath should be made at the time of use and should be used only once.
5. Van Dyke prints must be kept away from the light, otherwise they deteriorate. An optimal conservation is achieved by applying a Toning using baths of Palladio, Selenium or gold. So the toning is not considered an option, but a necessary practice.
Print preparation
To make a Van Dyke print, the negative dimensions must be the same than the final print. You can print on whatever material that the solution will stick to. You can start with a basic watercolor paper, then use most valuable papers. Apply the solution on the paper with a brush; it is possible to work under dimmed light. The solution is only sensitive to UV rays, so avoid daylight and florescent or energy-saving lamps. Wait for the solution to dry and then press the negative on the paper. Enhance the lights and shadows print tones by applying a second coat of solution after the first on has dried.
You should now cover your work with a glass plate of the same size to hold the negative down on the paper, thus avoiding unintended “out of register” during the exposure.
The optimal results are obtained using special Contact frame prints that can be found on our website.
You have put together a “sandwich”, now expose it to ultraviolet light. You can also expose to sunlight but you might not have repetitive results. A UV lamp light’s emission is constant, but you can not say the same about sunlight.
Developing and fixing
After the exposure, you will develop the image; do so by washing it with water to remove soluble iron and residual silver compounds. It is best to lightly acidify the water for the wash to help dissolve the iron salts.
Use a 3% solution of citric acid for two minutes and repeat twice. Chlorine that is usually found as a disinfectant in potable water could produce a white murky precipitate of silver chloride. The effect will dissipate after the wash.
Proceed to fix the image in a sodium thiosulfate 2% bath. This process gives the image a brown tone. Leave it in the bath until the whites brighten up; usually 2-4 minutes is enough.
It’s better to repeat the bath twice.This step is important to eventually remove the residual chloride silver that might be deposited in the paper fibers.
Do a final wash under running water for 30 minutes. Air dry it but with no heating, which might change the printing tones.
OTHER NOTES REGARDING THIS TECHNIQUE
Some authors prefer to keep the three separate solutions and mix at the use only the amount necessary to make a print. For example, a print 13x18cm requires in total about 20 drops. The preparation of the necessary solution requires the mandatory sequence: 1°, the Iron Ammonium Citrate; tartaric acid the 2nd ; and the Silver Nitrate the 3rd.
The brush must first be moistened with demineralized water. This is to avoid excessive waste of sensitizing solution.
Exposure to UV light can be considered good when the lights (light parts) of the print are strong enough. The experience helps. The use of a divisible contact printing frame is a great help.
Some authors recommend using the fixing bath (sodium thyosulfate 15%) when the printing is not subjected to toning. This is necessary in order to maintain for a long time the printing.
SOME USABLE PAPERS:
We recommend the most available in our country:
Fabriano Artistico (Fabriano Uno)
Arches Platine
Berrger Cot 320
The weight recommended is 300g /sq.m
About this toning
It must always be performed before fixing. The immersion in the toning bath must last 3-5 minutes. After the toning, you pass directly to the fixing. Here are some formulations used on baths:
Palladium: in 1000ml of demineralized water add 40 ml of Palladium Chloride 10%, 5 g of citric acid.
Platinum: in 1000ml of demineralized water add 20 ml of Potassium Cloroplatinito 20%, 5 g of citric acid.
Gold: in 1000ml of demineralized water add 5 ml of gold chloride 5%, 5 g of citric acid.
To avoid wasting too toning is useful to use trays with a flat bottom. For a format 20x25cm (13×18 “) are sufficient 60-70ml of toning. After having poured on the printing, shake in all directions to get good press coverage.
Chemical products used in this procedure are to be considered toxic and non-suitable for human or animal consumption. As a user you must be aware of the risks and take care to protect the environment. Never dispose of chemical waste in a domestic sewage or with common garbage. For a correct disposal please see your local disposal laws.
Ziatype beginners kit
Ziatype Ziatype Beginner kit (Kit09) Kit contents Sensitizing: Ammonium Ferric Oxalate sol.A 25ml Ammonium Ferric Oxalate contrast sol.B

Wet plate Collodion-formulating Poe Boy
Collodion process-Poe Boy formula (No ether/No cadmium) The procedure for the collodion “poe boy”, or “poor boy” as some say, is interesting for it does

Wet plate Collodion-Old Work-Horse process
Old Work-Horse for positive process 1°- Collodion solution (part A) pour 220 ml plain collodion into a 500 ml beaker slowly, add 140 ml ether


